Preface
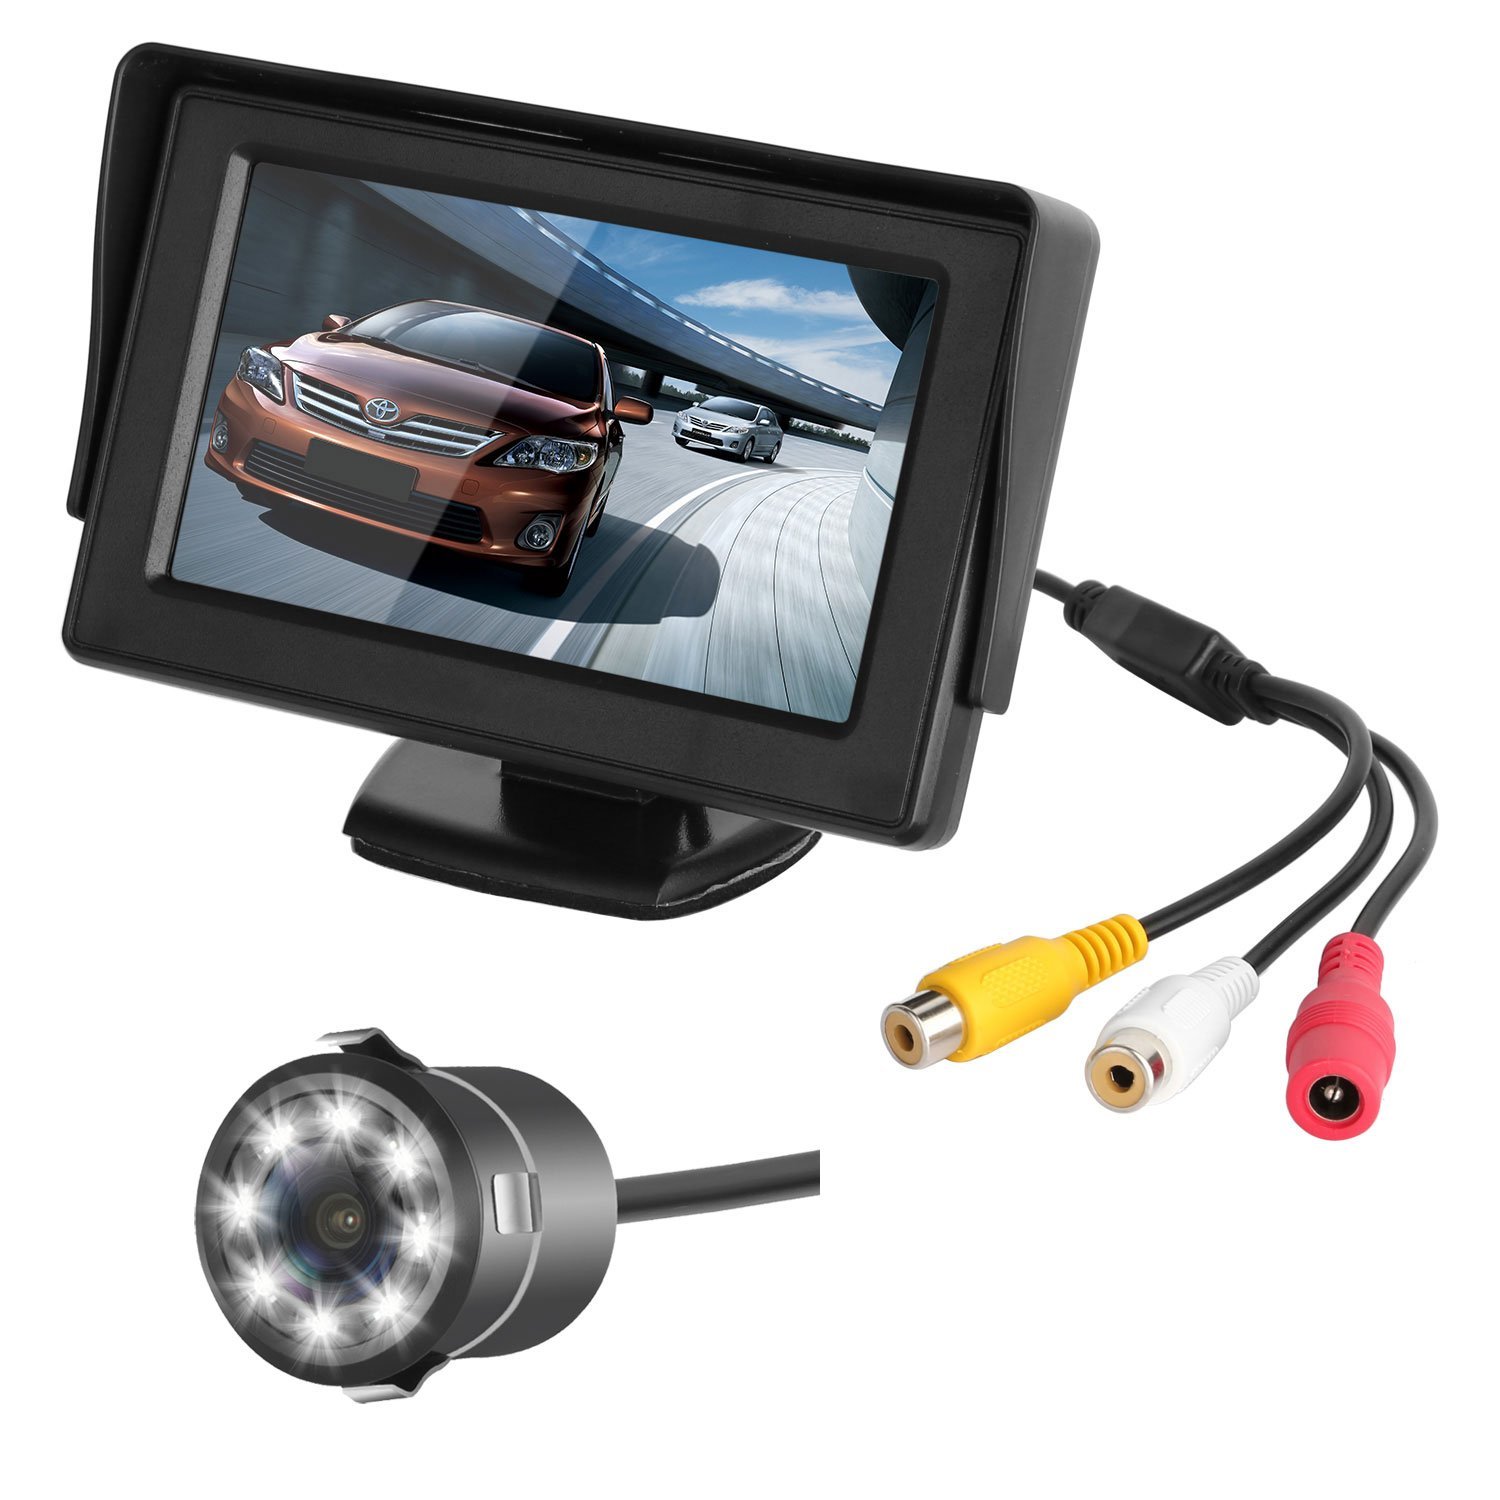
The RV I restored called Paris needed a backup camera due to the difficulty of seeing exactly what was behind me in tight parking situations. A simple $20 wired ZSMJ Backup Camera with a 4.3” LCD was used.
Camera
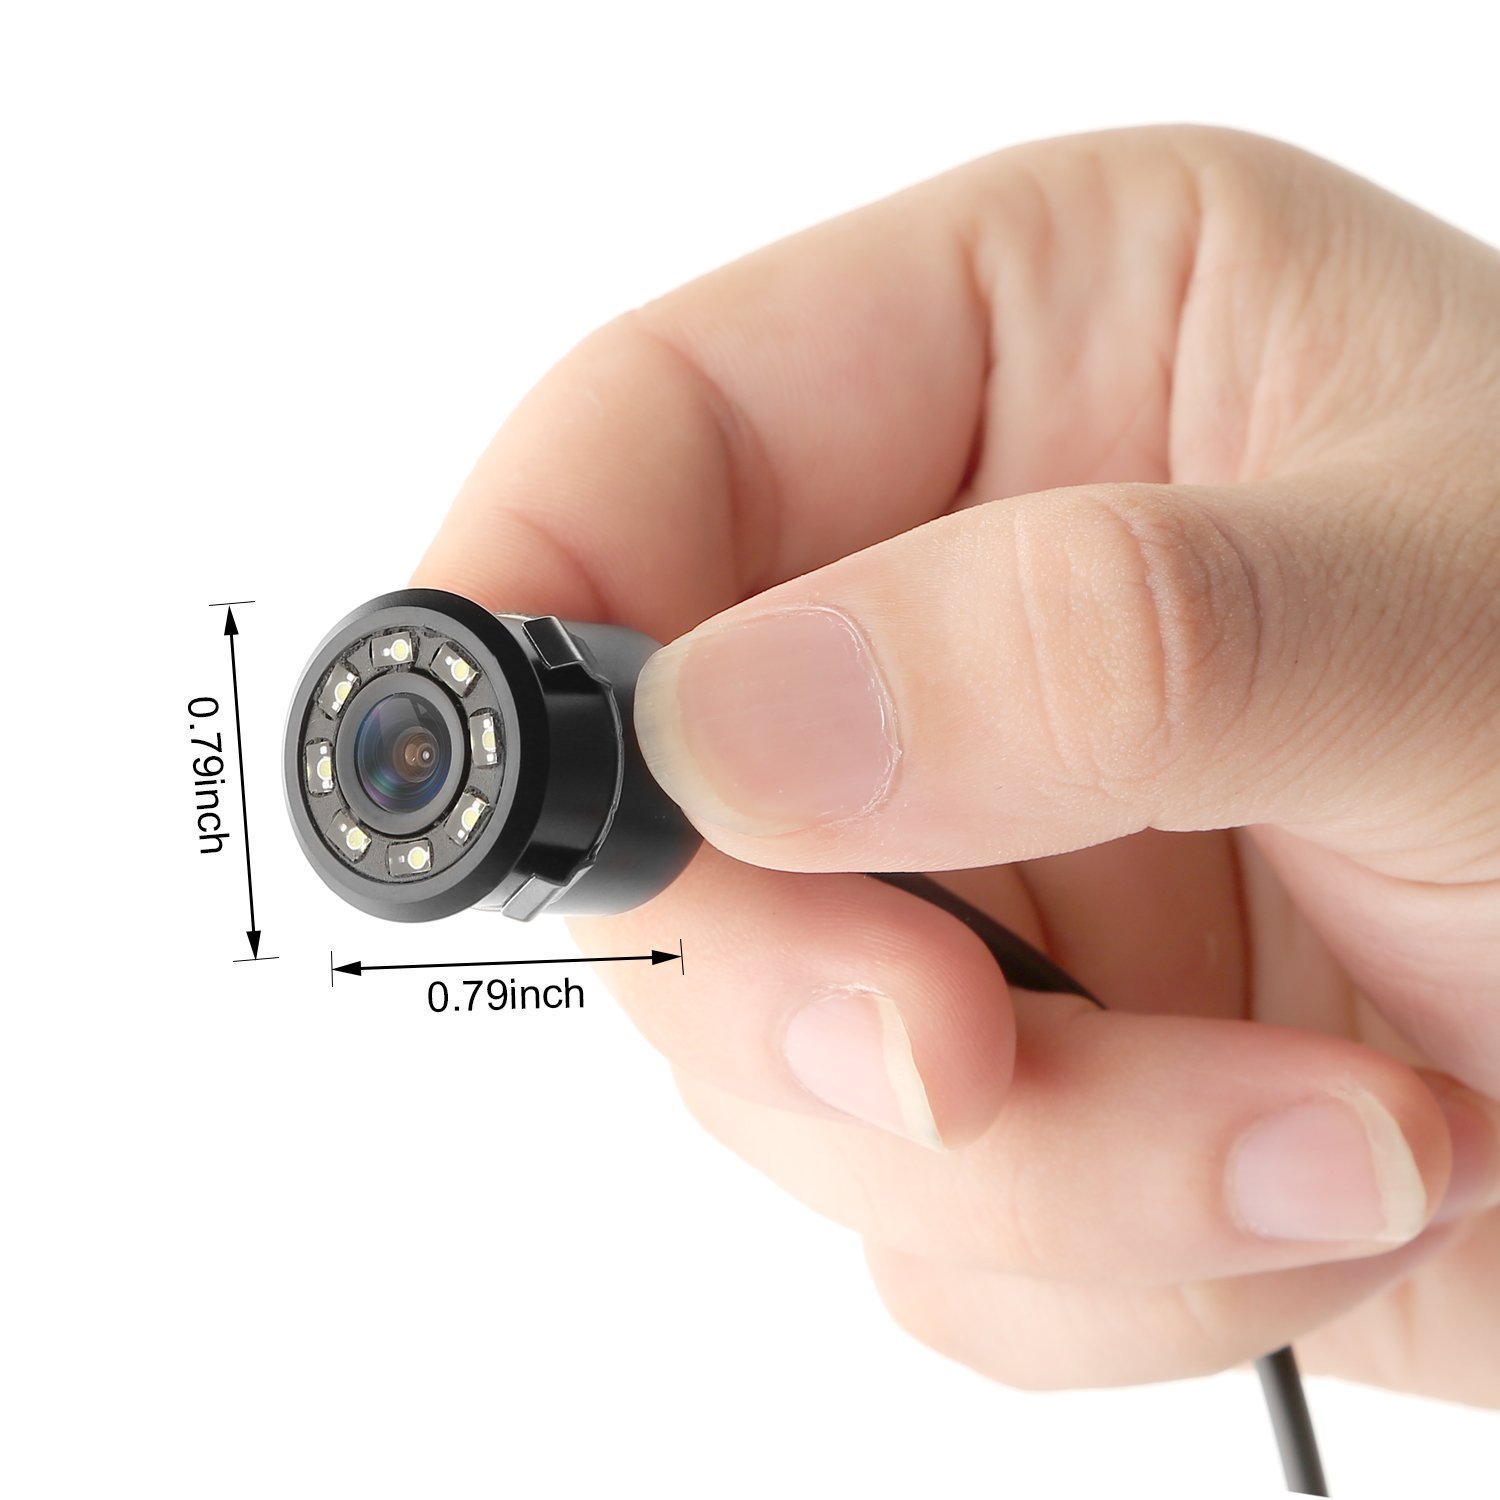
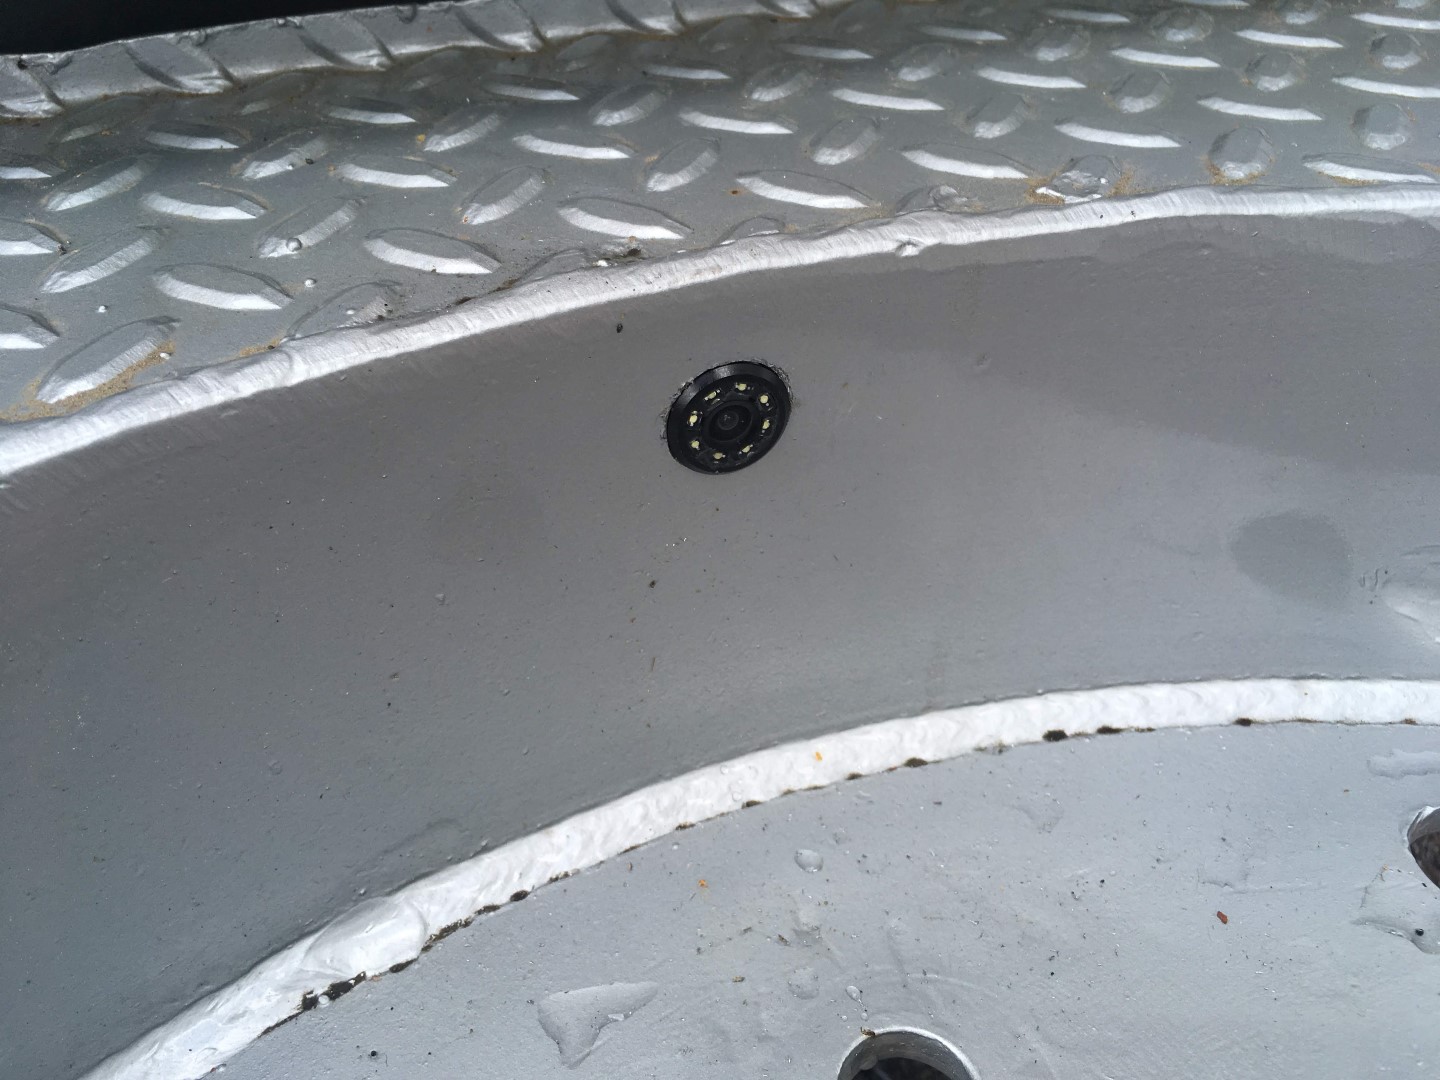
There are plentiful options when browsing Amazon for a backup camera. I was pleasantly surprised at how low cost the camera systems are and settled on a round camera that could easily be mounted in a 3/4” hole drilled in the rigid metal bumper. The camera has 8 white LEDs that illuminate to improve low light performance at night.
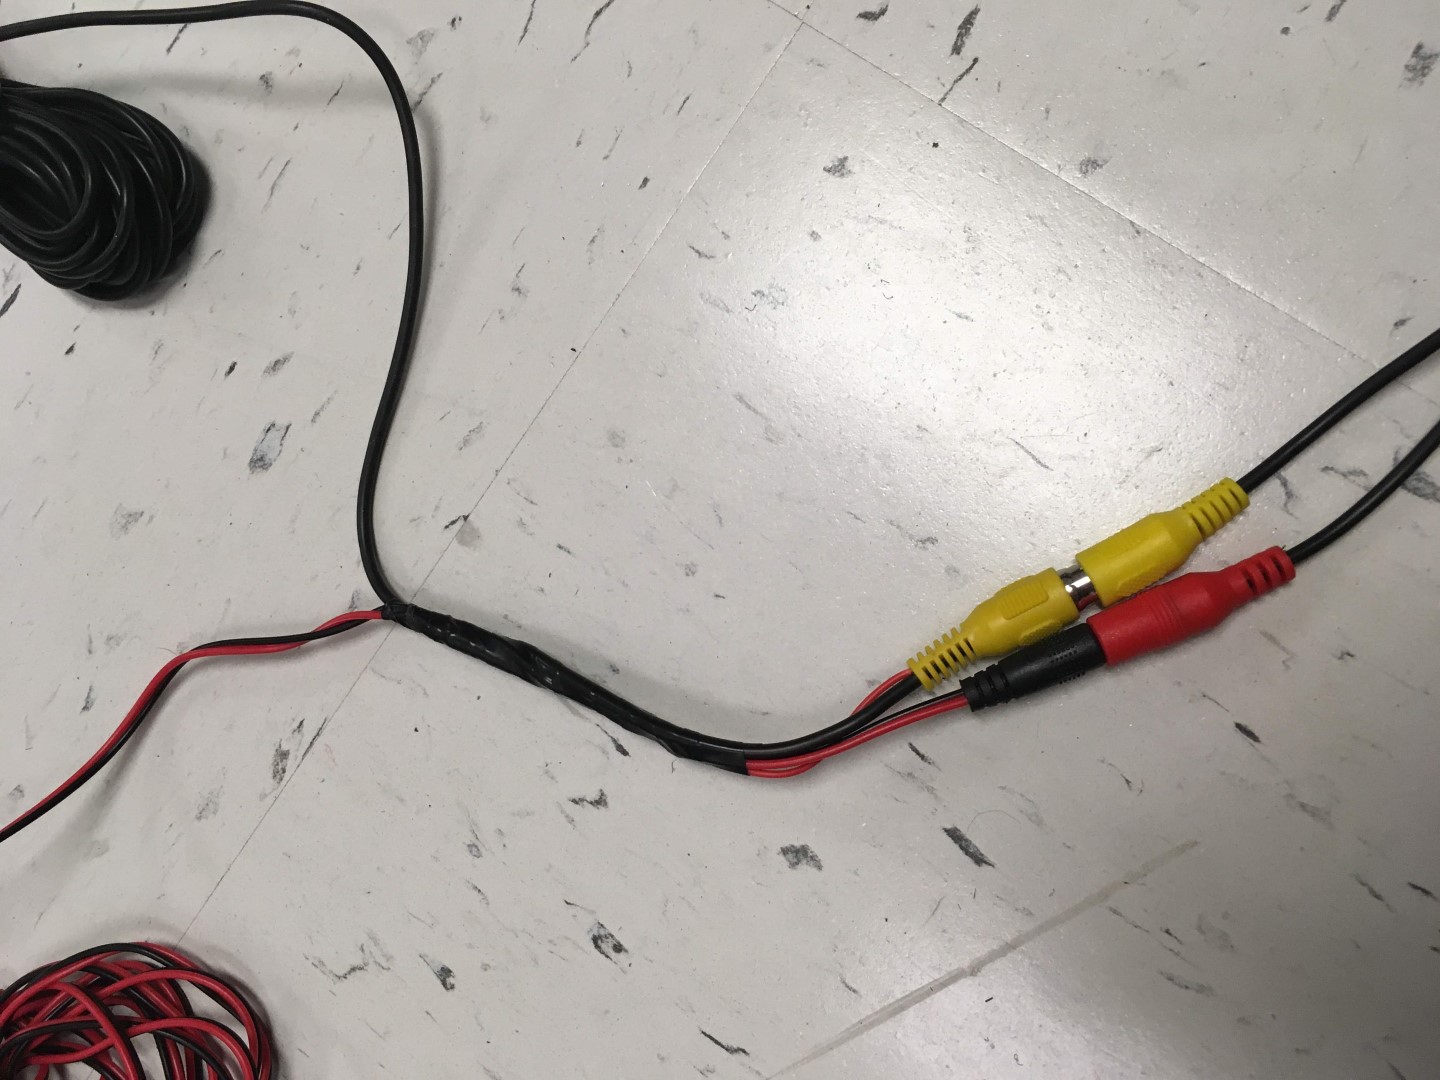
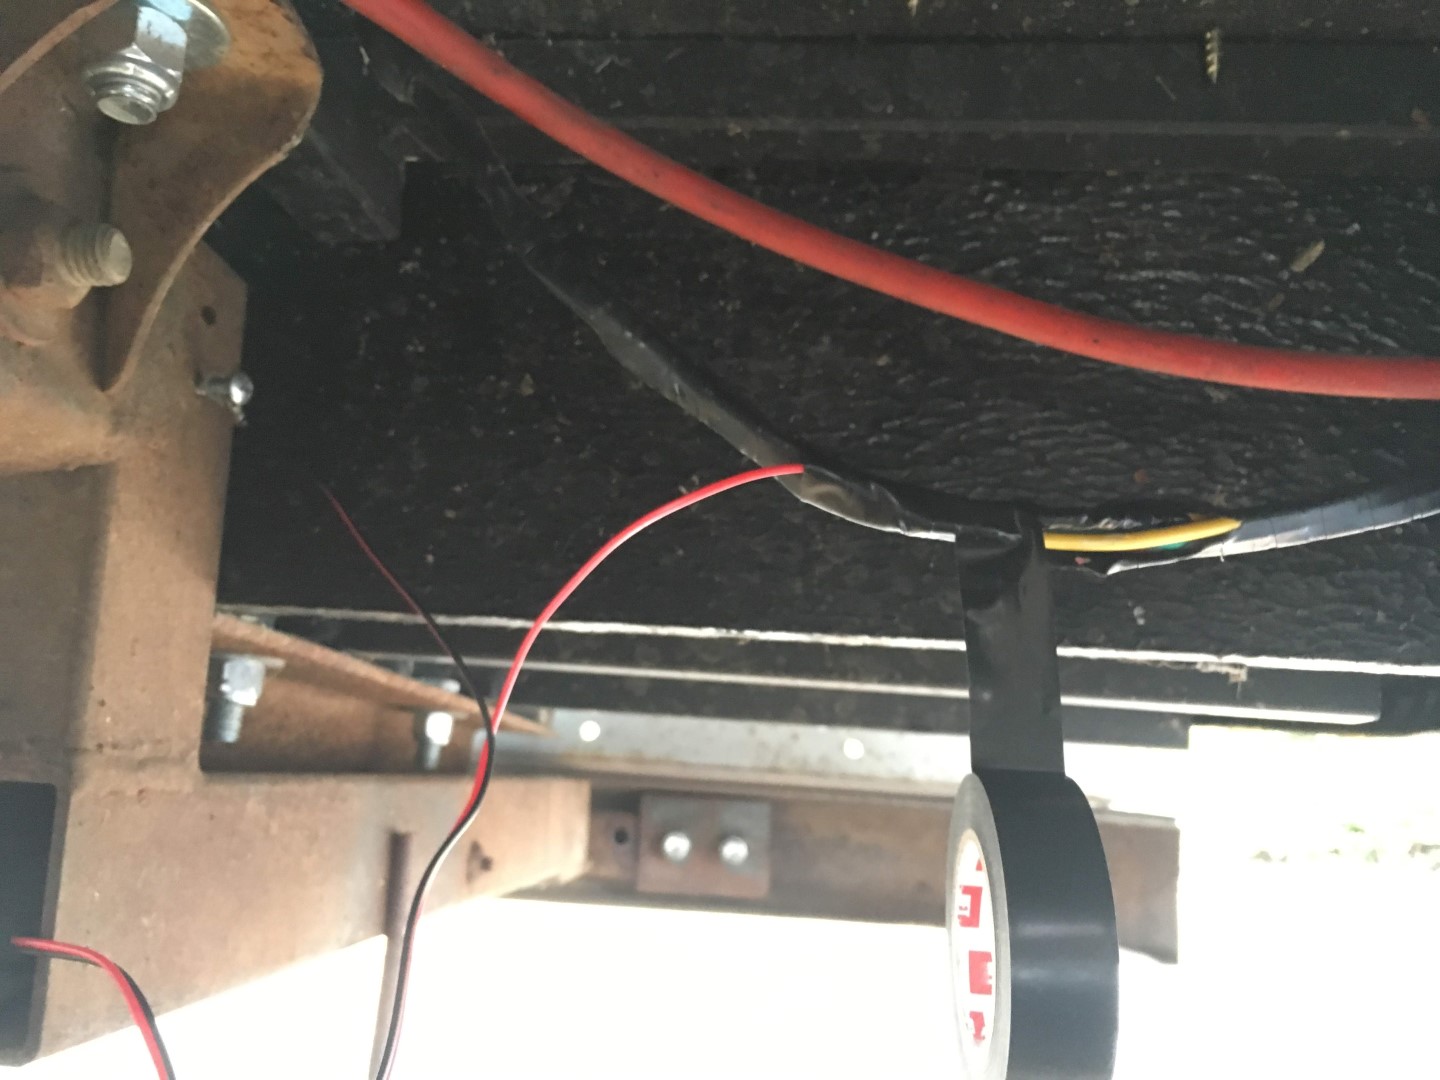
The camera is wired to the reverse lights so it only gets turned on when reversing. The yellow analog video wire has a 12V wire embedded to power the LCD in the front of the vehicle from the hacked in wire on the reverse lights in the rear.
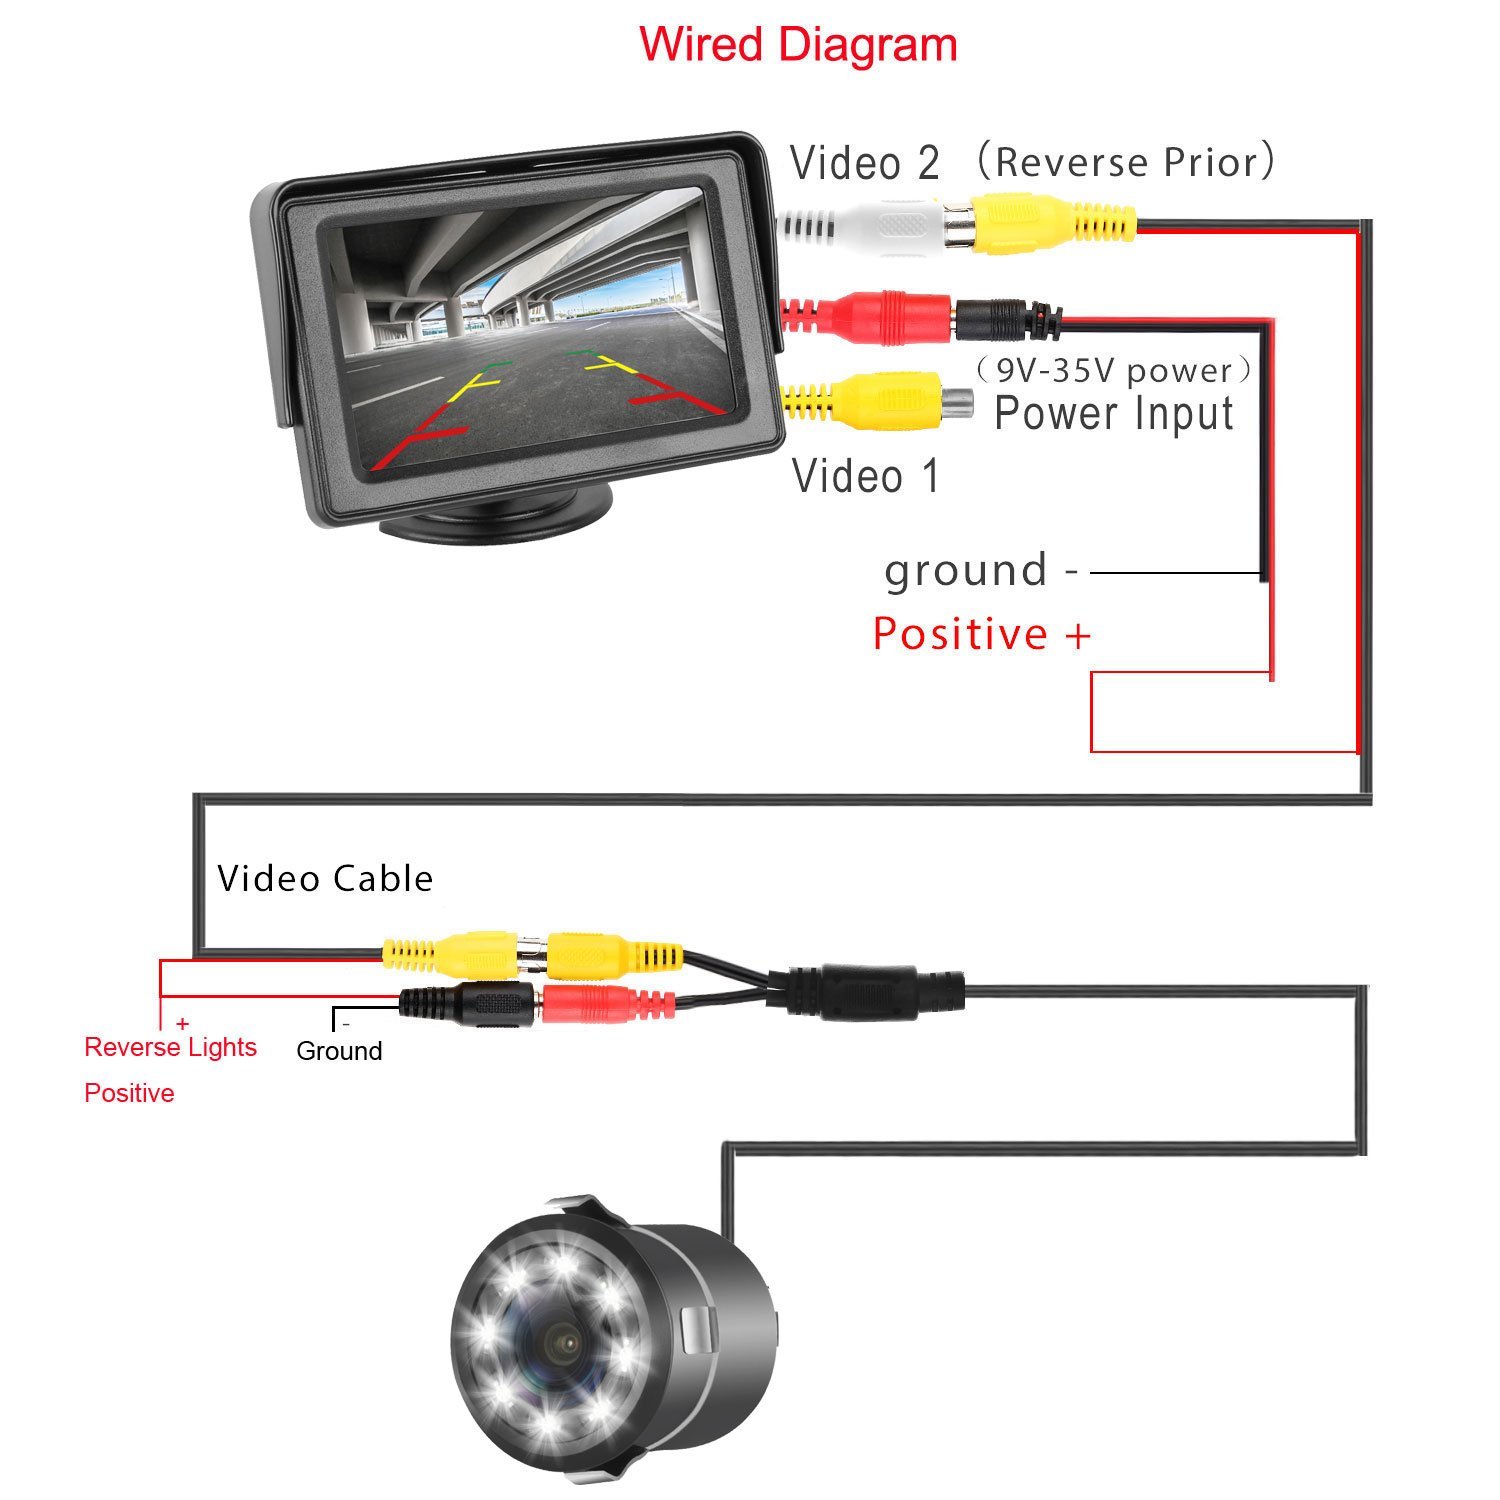
Here are some pictures from the manufacturer that detail the camera kit with a schematic indicating how to connect the wires.

Wiring and Installation
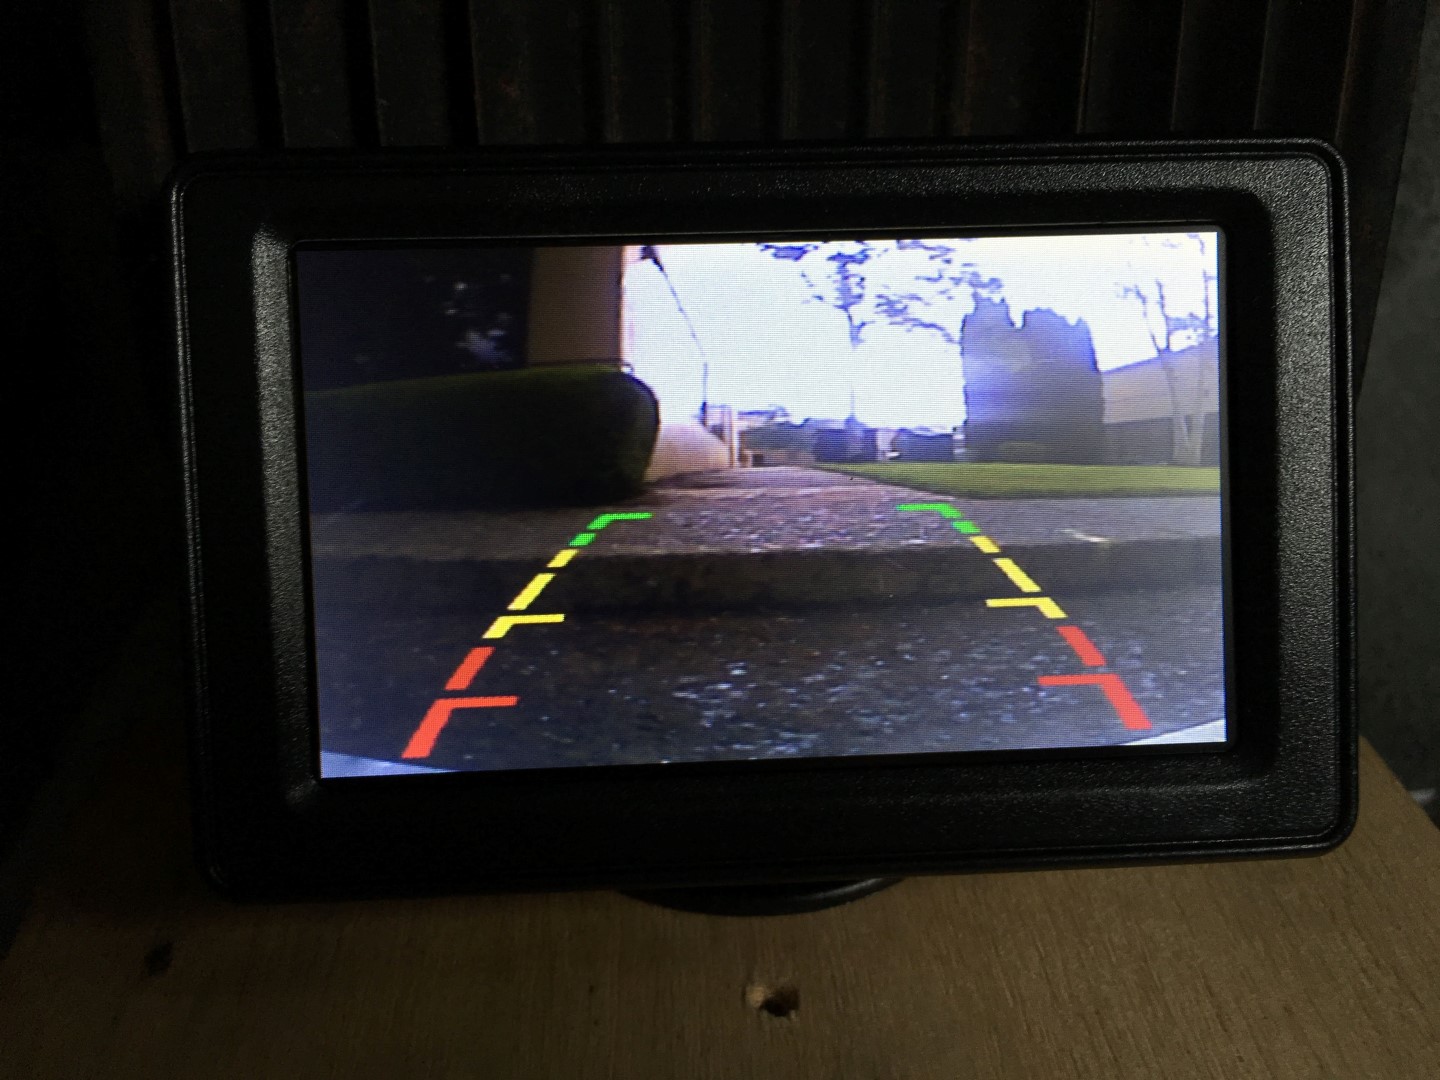
Bench Testing
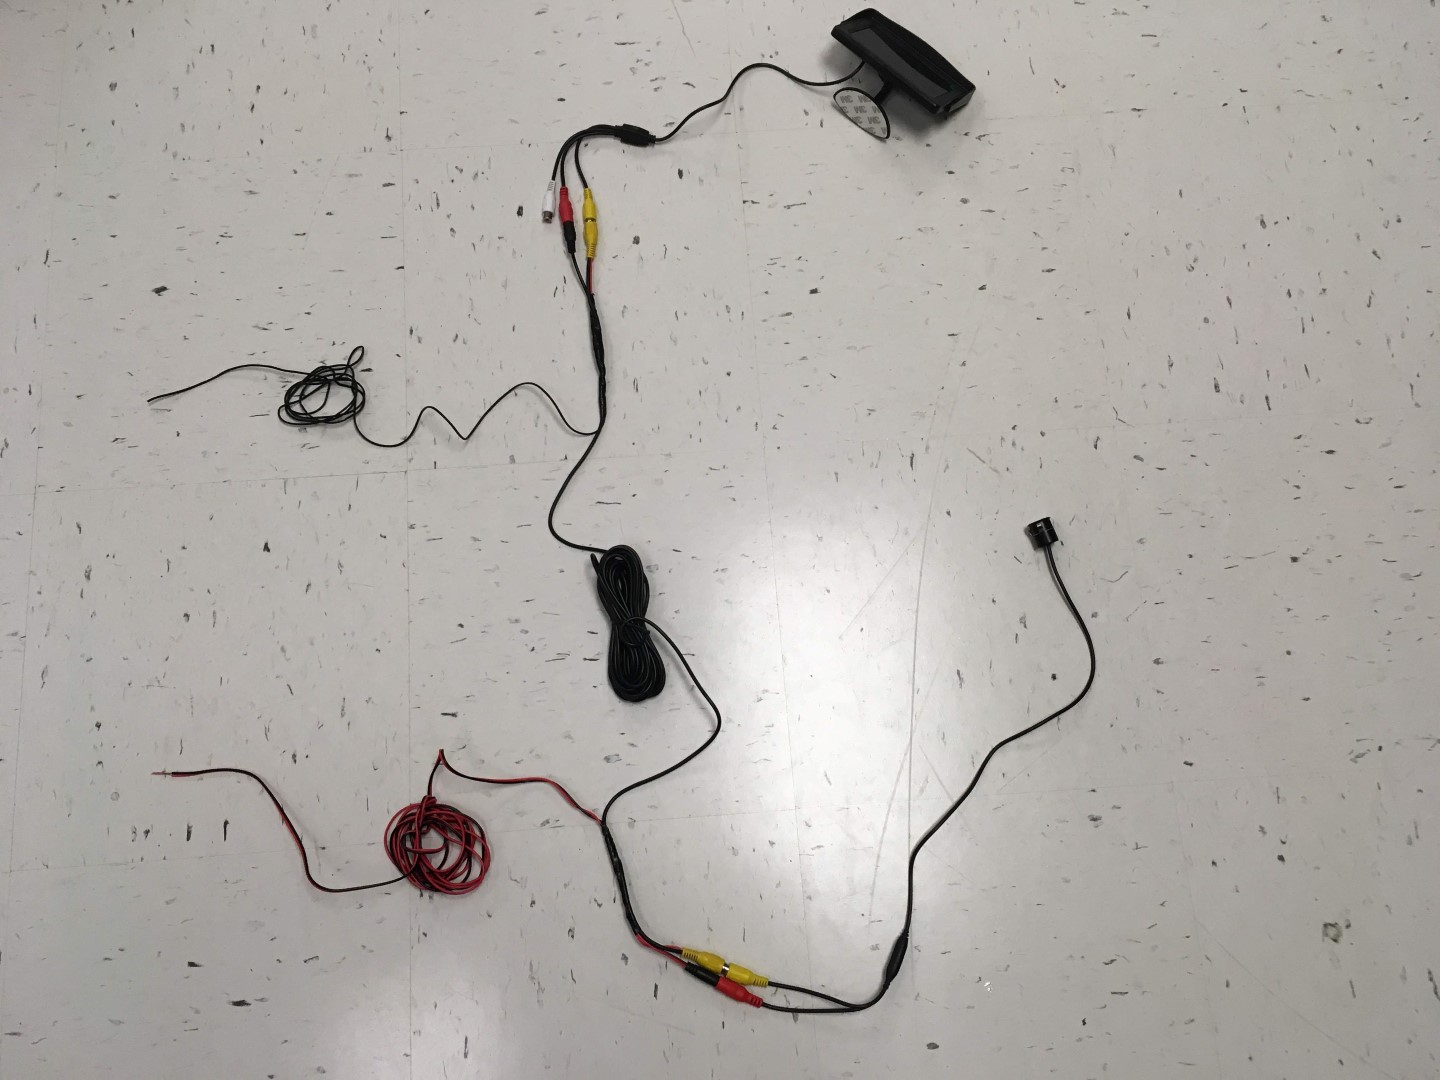
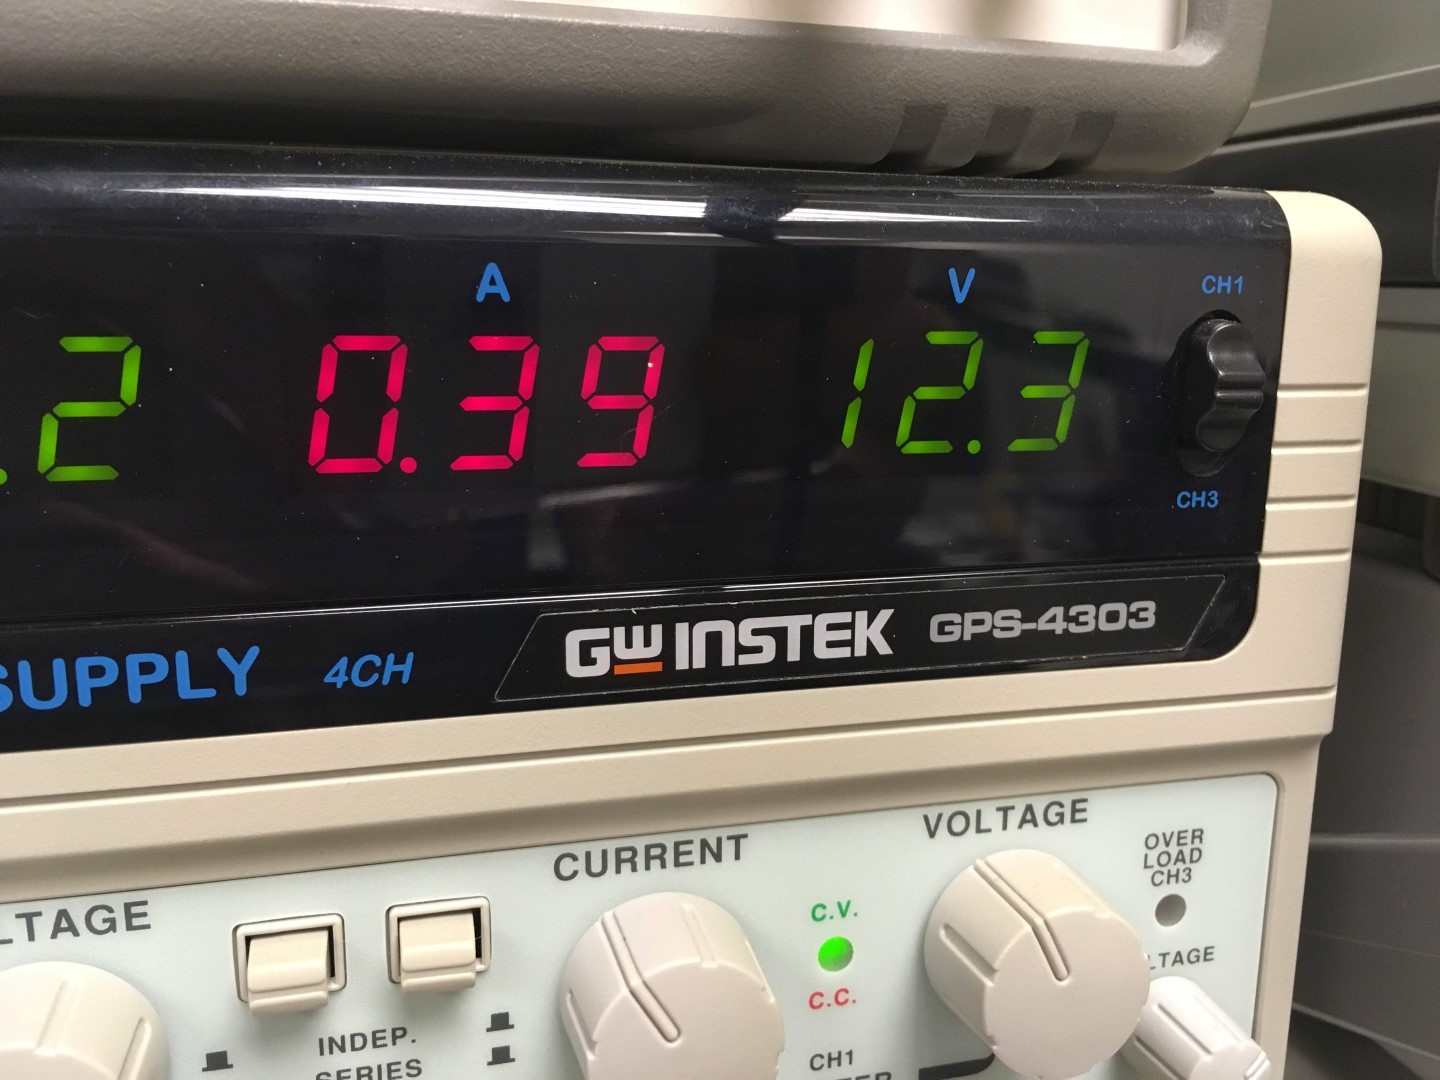
The wiring was cleaned up a bit to have only a single power ground wire in the front near the LCD and power and ground wires in the back to hack into the reverse lights. When powered the entire unit (camera, LEDs, and LCD) consume 400mA at 12.3V which is right around 5W of power. The camera has some basic adjustments using the buttons on the back of the LCD for brightness, saturation, etc. that can be tuned to your liking but the default seemed to work well for me.

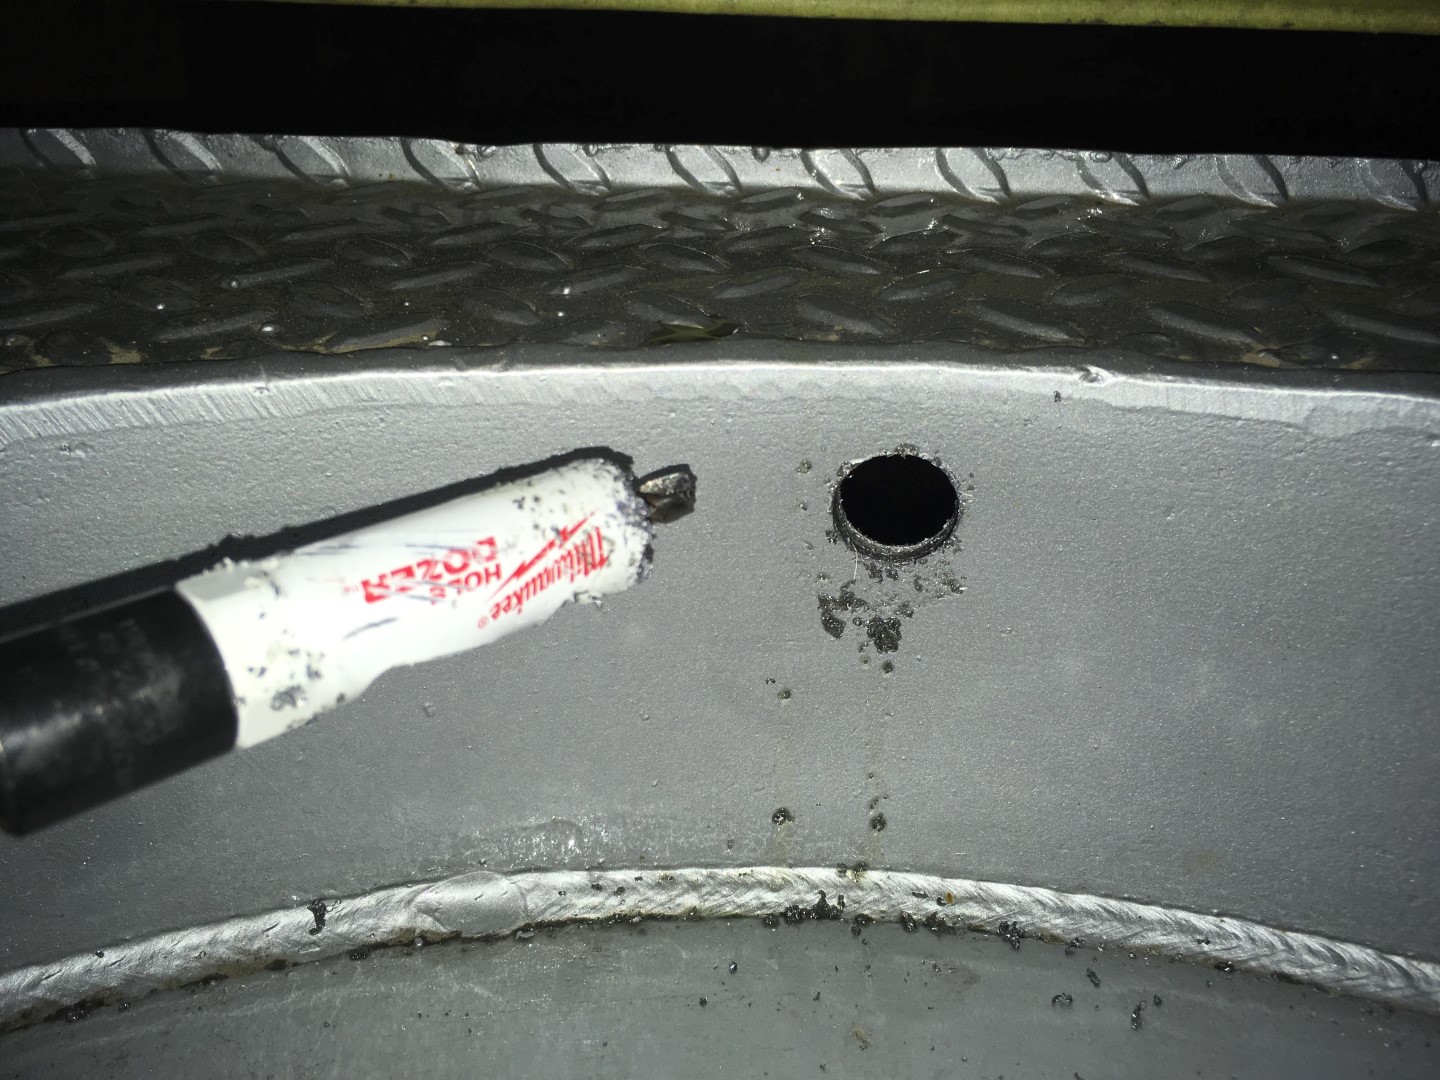
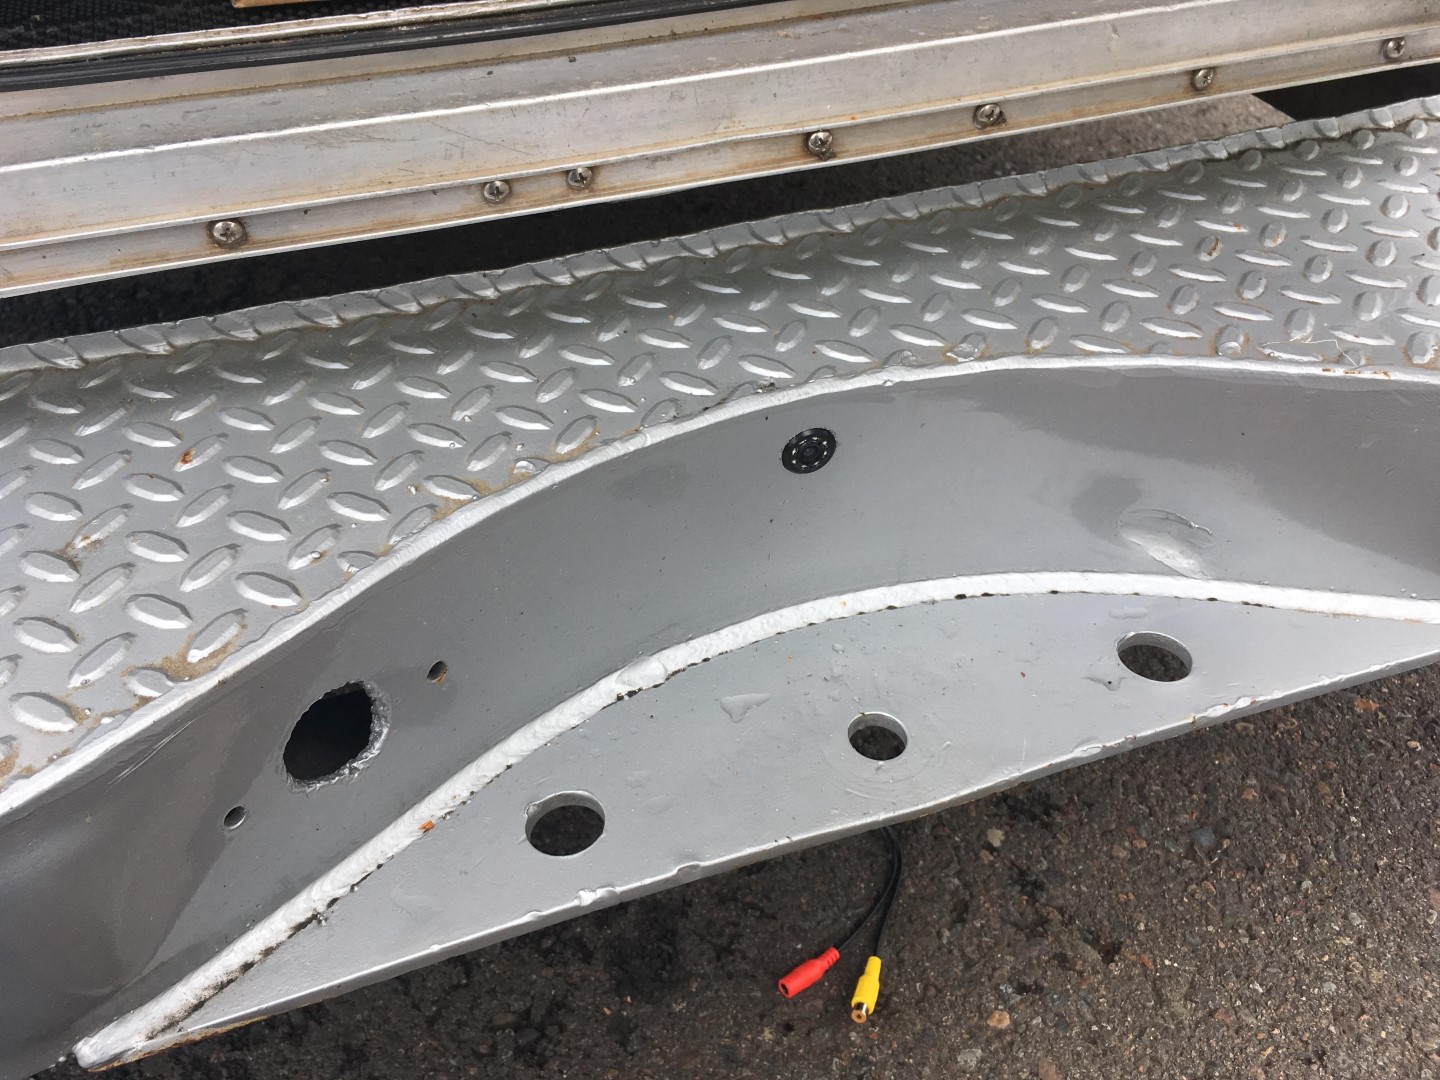
Drilling a Hole
The camera mounts almost flush in a 3/4” hole drilled into a thick metal bumper. Using a bi-metal hole saw and a bit of lubricating oil cut through it like butter which then needed to be cleaned up a bit with a rounded file.
Wiring
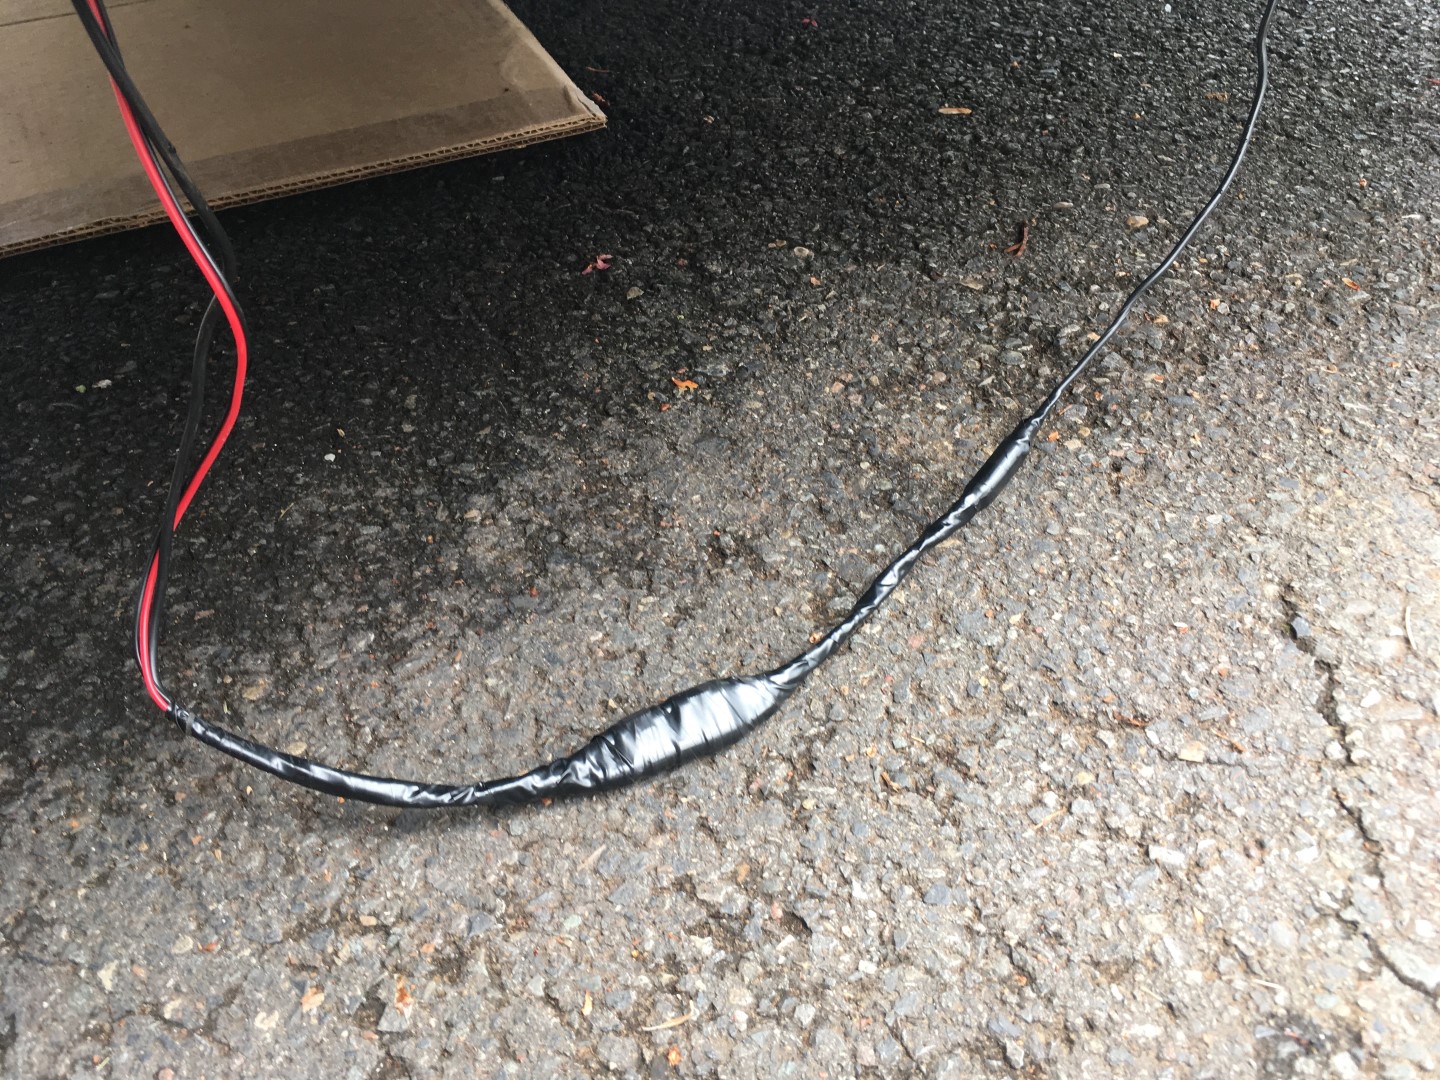
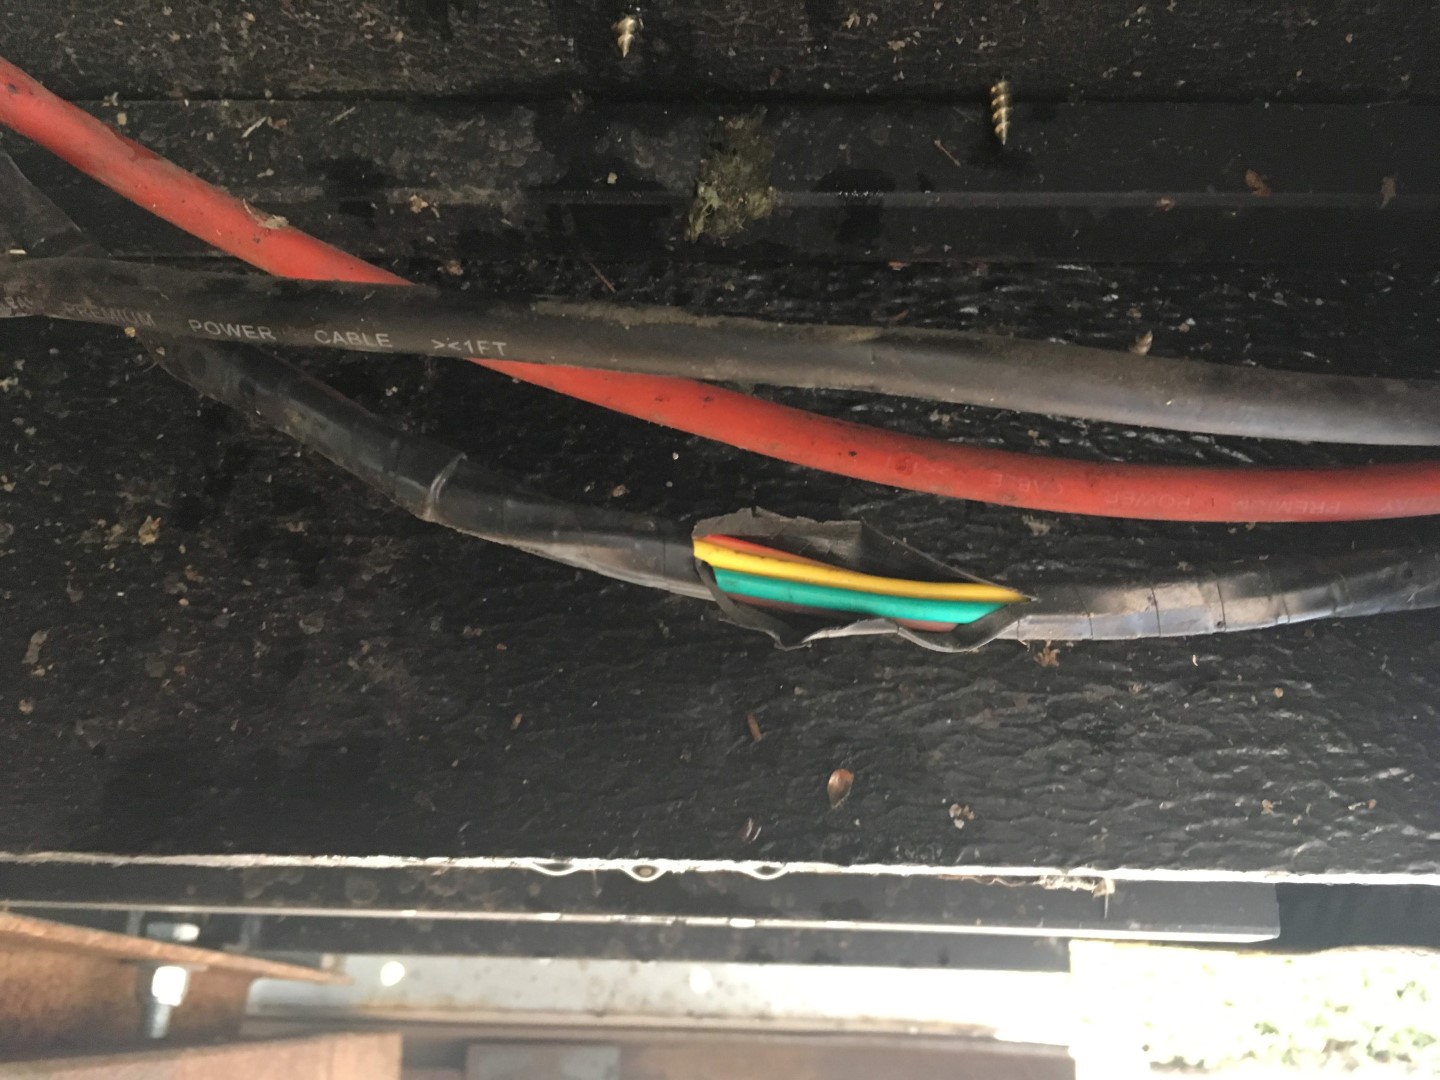
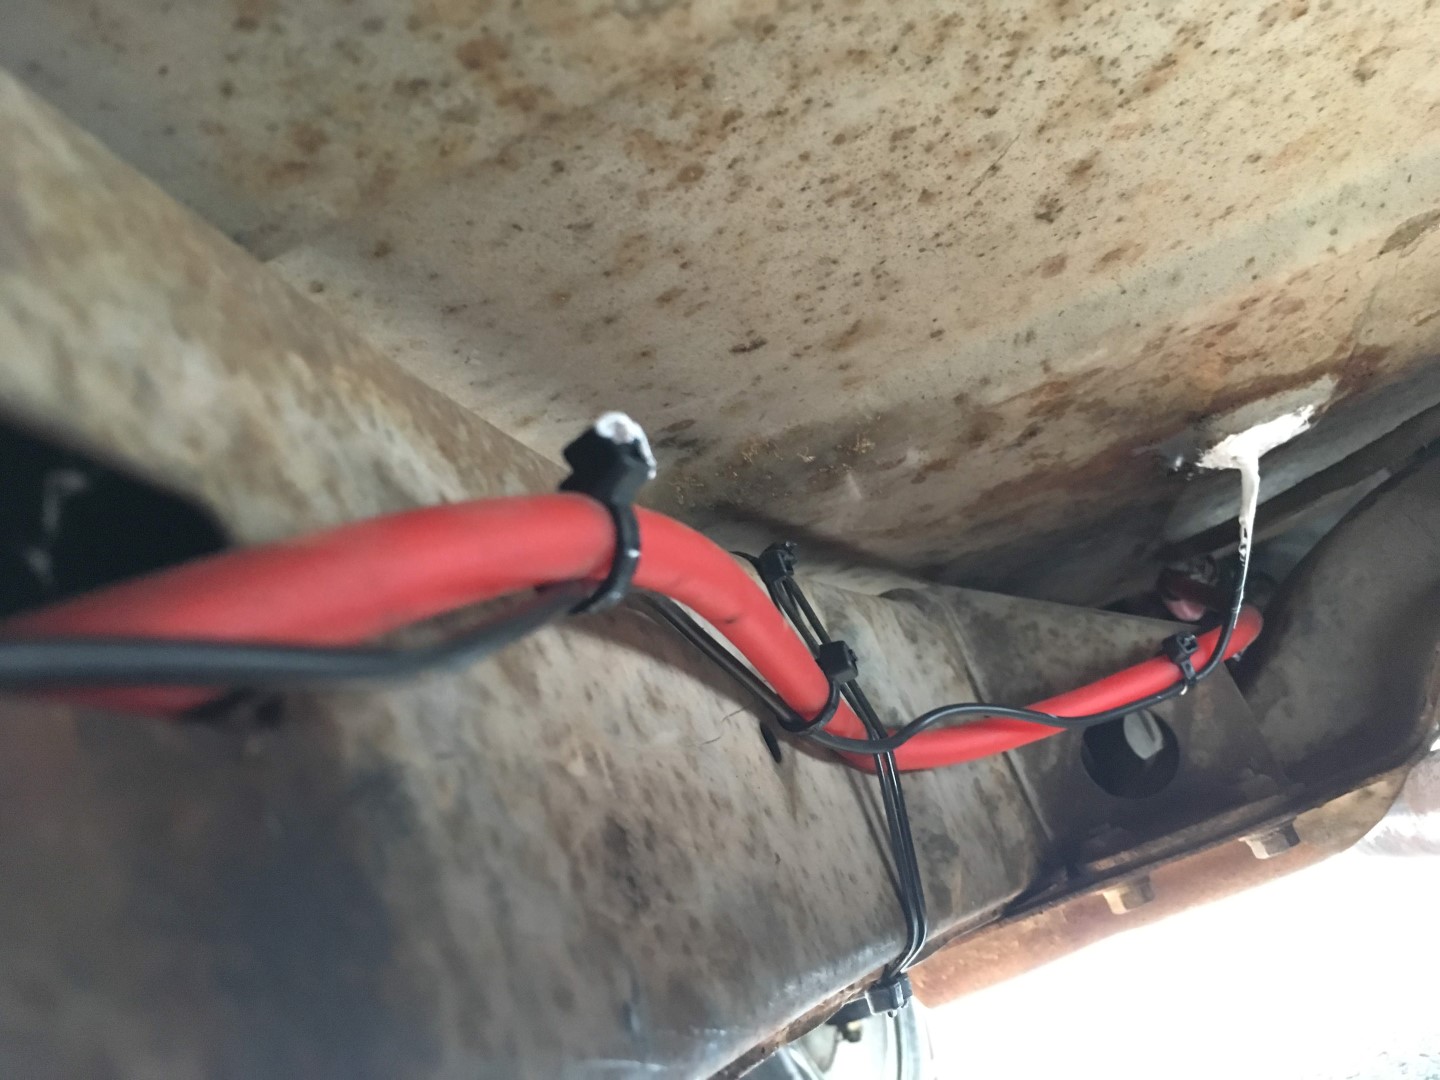
I am a stickler for clean tidy wiring so the wiring is fish taped through the frame of the truck in parallel with the large 4 AWG power wired to my AC inverter in the cabin. The RCA cables were made sure to be electrical taped to avoid the elements as those would surely rust and fail. The wiring harness for the rear tail lights on the driver’s side was hacked into. Since I was the one that cleaned up this wiring I knew the red/yellow wire was the reverse lights. The camera power wire was soldered on and electrical taped while the ground was attached using an existing self tapping screw at the AC inverter’s ground.
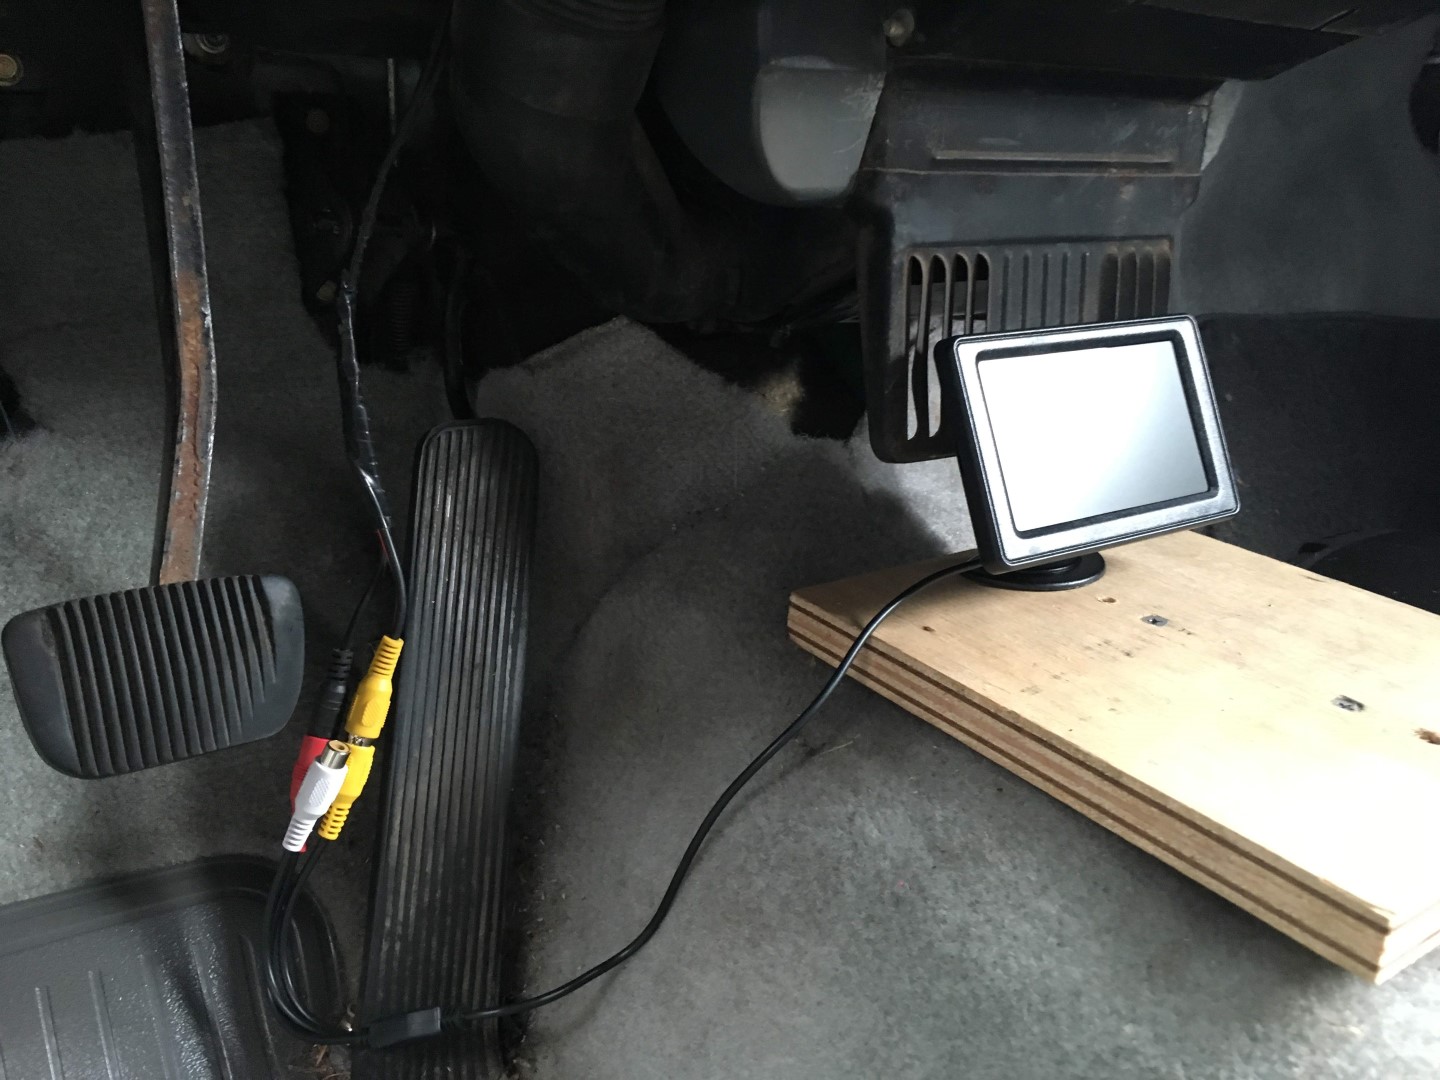
The wire that runs to the front is the analog video cable with embedded power snaked up through an existing hole in the driver’s floorboard and sealed up to prevent the wire from rubbing against the metal hole. Then it goes up near the radio where the additional ground is connected and back down near the heater core to the LCD.
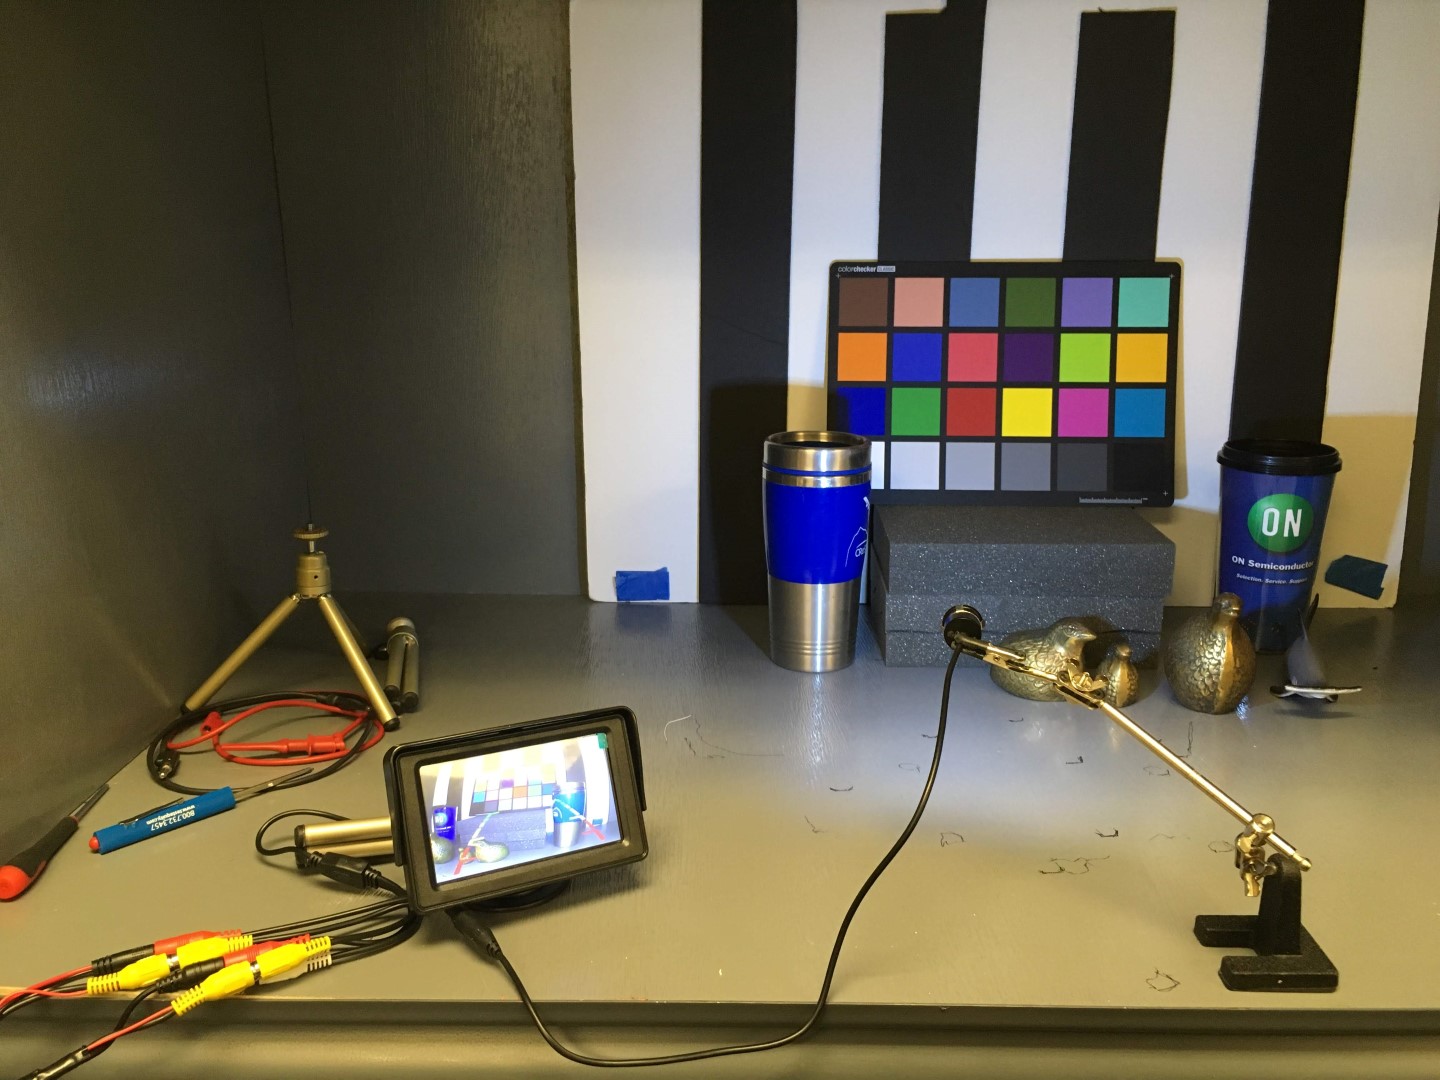
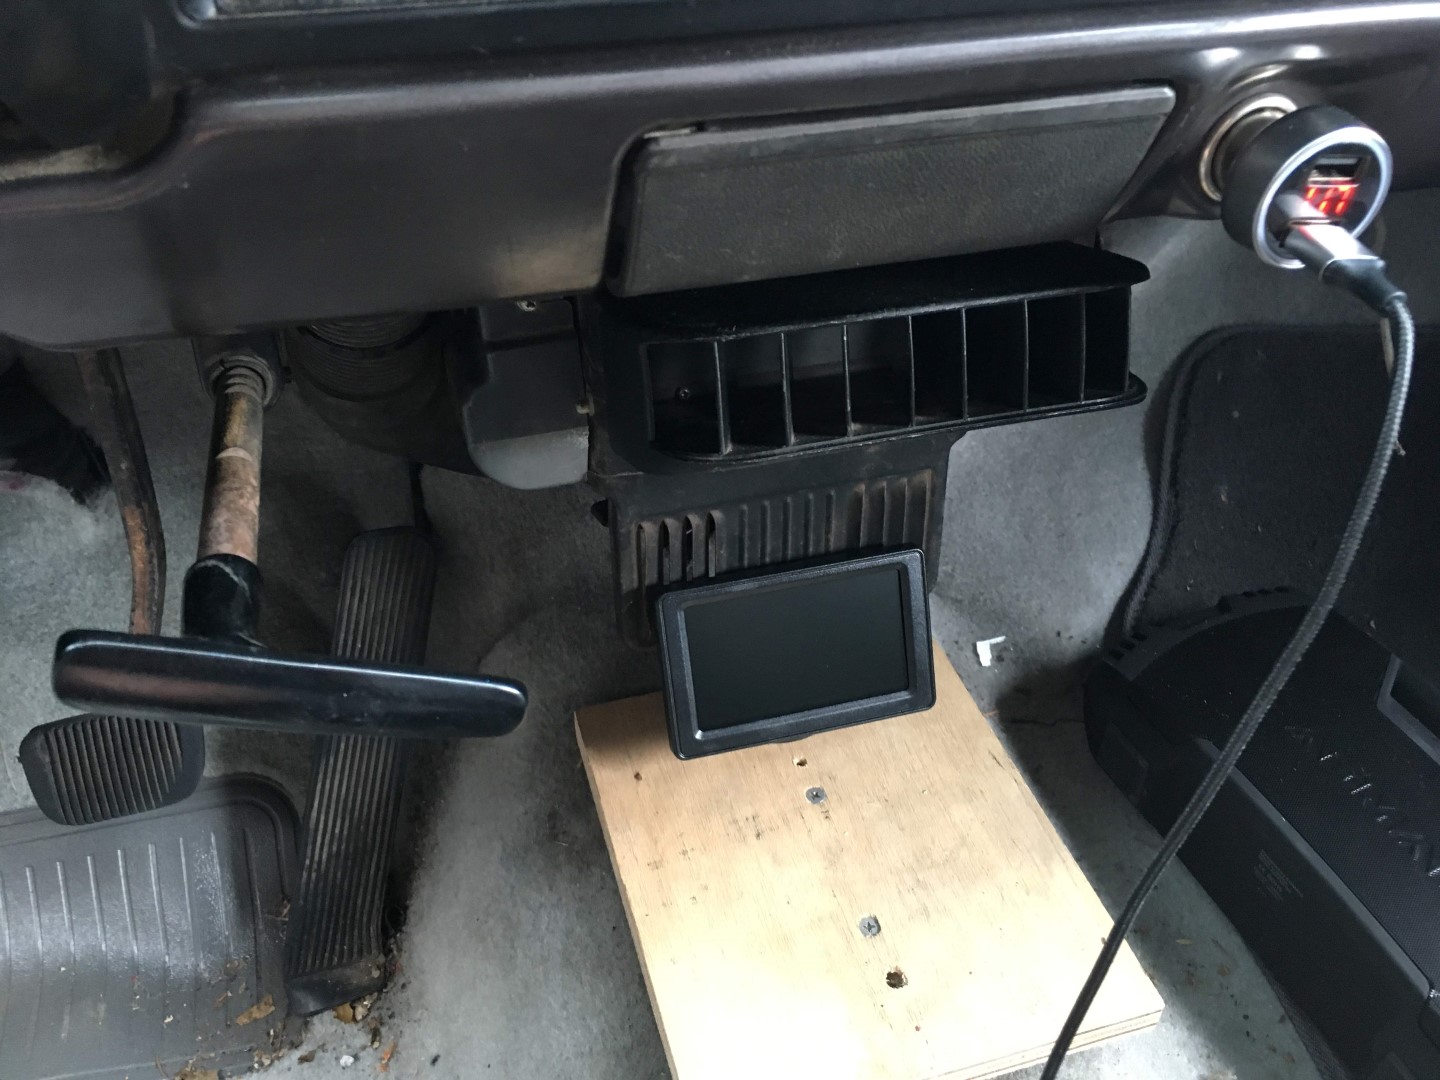
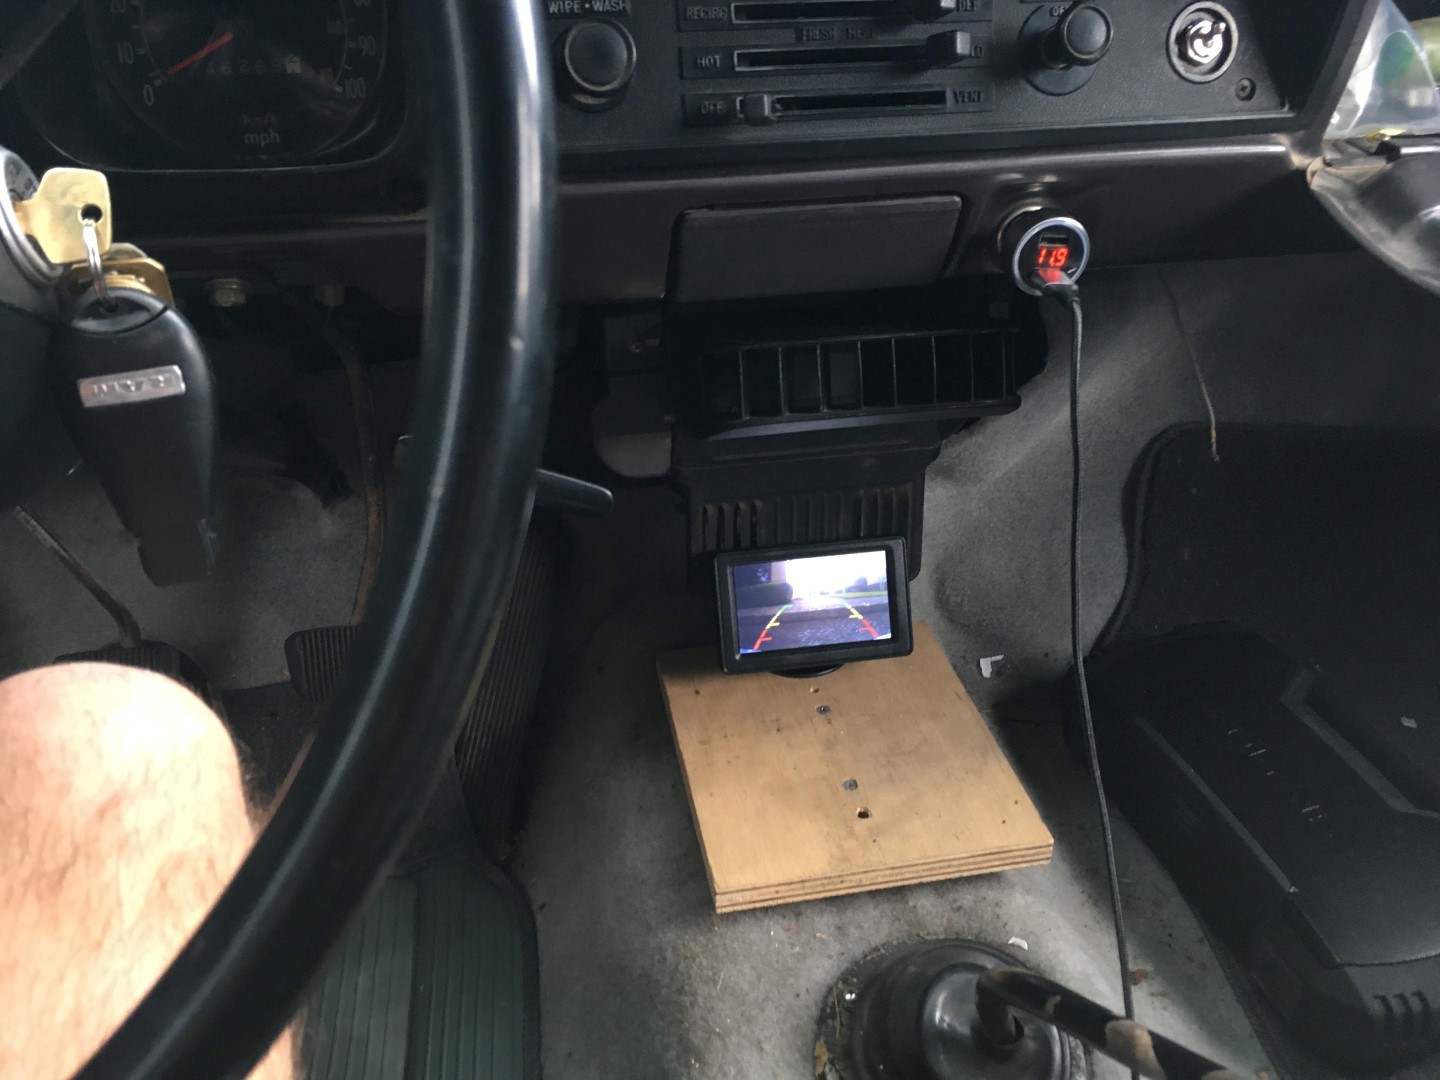
The LCD was mounted with the provided sticky 3M tape on the platform I intended to be a “center console” of sorts. Hopefully the sticky tape holds up on the wood platform.
Final Product
A simple glance down near the wooden center console platform shows a clear display of any objects at the rear.
Automatic Turn On/Off
Here is a short video of putting the truck into reverse to illustrate the functionality. The camera takes only about 1 second to start displaying video.